 (Updated November 2018)
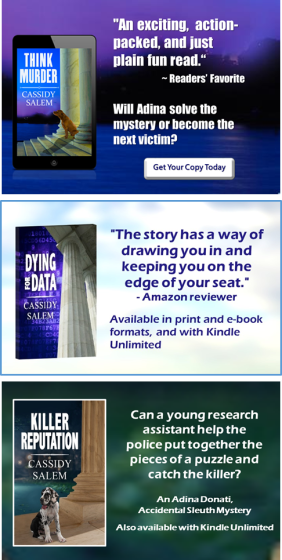
If you are anything like me, you don’t have a humongous budget for graphic design and marketing. This doesn’t mean that you can’t create eye-catching info-graphics or memes to enhance your marketing efforts. If I can do it, so can you. Here are a few I have created.
In this post, I’d like to take you through the basics of creating a simple marketing graphic in Microsoft PowerPoint. For the purposes of this demo, the info-graphic will incorporate a background photo, a book cover, and promotional text.
Before you begin: Identify and download one or more photos/graphics that you might like to use. Or, even better, maybe you have a photo you took yourself. I usually download something from pixabay.com or a similar site that offers free images (including for promotional/commercial use).
Note: If you select a picture with people in it, there are likely to be some restrictions, so tread lightly and read the fine print.
In PowerPoint:
- Select the Insert tab on the ribbon, then select Pictures.
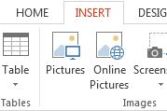
- Browse to and select the picture you want to use, then click Insert. The picture appears on the open slide.
Tip: To adjust the picture size, click and drag a corner of the graphic inward or outward. - Select the Insert tab, then select Pictures again and insert your book cover graphic.
- Select the Insert tab, then select Text box to add text. Simply click the canvas and start typing.
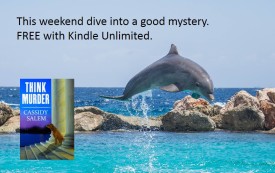
Now I have three elements on my canvas: the photo, the cover, and some promotional text.

- First, the cover needs to be a bit smaller relative to the dolphin photo. Click the cover and then drag the corners to adjust the size.
- Drag and drop the cover onto the photo.
- Select the text box and drag it onto the photo.
- Select the text box and adjust the font size, style, color, or other special effects using the options on the ribbon.
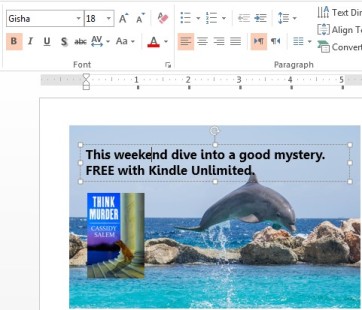
- Reposition and resize the cover and text box until you achieve the desired effect.
- Almost done. Select all three elements (Ctrl+A works nicely if there’s nothing else on the slide) or drag your cursor around all three:
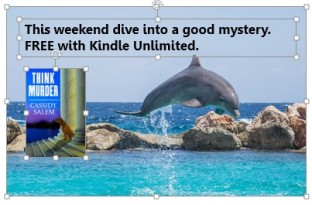
- On the Home tab on the ribbon, select Copy or press Ctrl+C.
- On the Home tab, select the dropdown arrow on the Paste button to display the Paste Options menu, then select Paste Special. From the Paste Special dialog box, select Picture (JPEG), then click OK.
Notes:
– Yes, you could skip this step, but there is a method to my madness. Creating a “picture” rather than the default Microsoft object enables you to resize the graphic, crop it and add borders, without messing up the positioning or relative sizing of the elements. For example, the info-graphic here has been cropped using the Crop tool on the Picture Tools ribbon.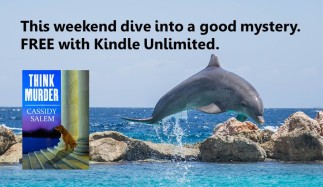
– The recommendations for overall size vary, I tend to make it around 2.5” by 5” (I confess I’m not consistent). Play around and see what works best for you. - Finally, right-click the finished info-graphic and select Save as Picture. Once saved as an image*, the picture is ready for use in your next tweet or Facebook post.
Note: I recommend saving your graphics as .jpeg files.
Additional Notes/Tips:
- You can save pics in a variety of frameworks (GIF, JPEG, PNG, and so on). I have found JPGs work well.
- Don’t want to use a background photo? Try drawing a rectangular shape and set its color, shading, or other effects.
- Found a great picture of snowflakes for a winter info-graphic but you don’t like the rest of the picture? Crop the picture to use the portion you like (enlarge what’s left if need be).
- If you are adventurous you can apply a variety of effects to pictures in PowerPoint.
- Images for BookBub ad graphics must be 300 x 250 pixels.
- Image for posting to Instagram must be square.
Hope you find this post helpful. Please feel free to offer your own tips or ask questions.


Leave a reply to CassidySalem Cancel reply